 1300 4 722642
 sales@eurowreck.com.au (Melb)
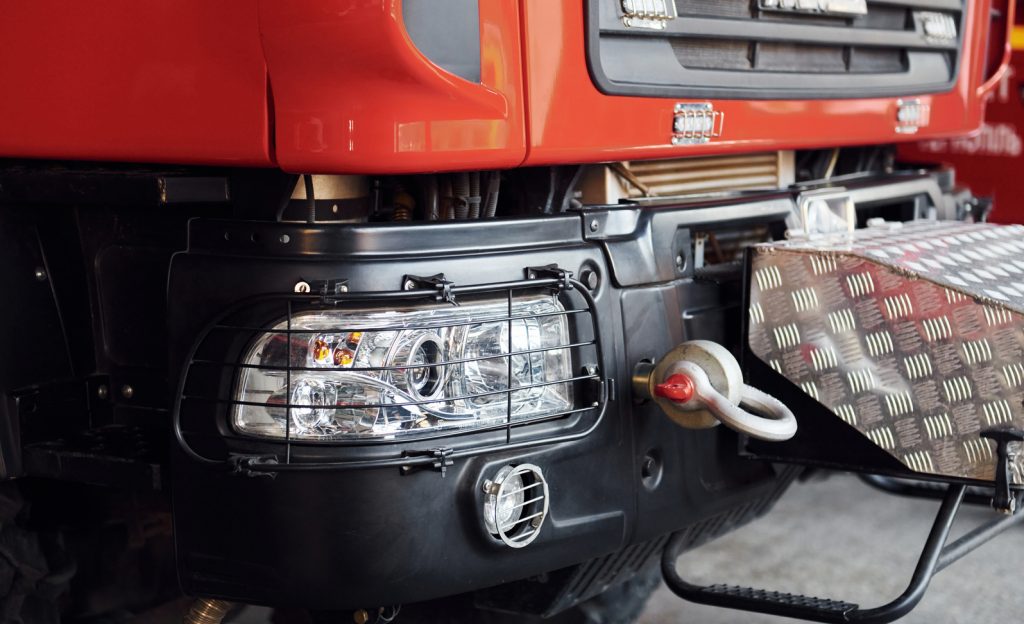
A Scania lighting problem does not always mean the complete light needs replacing. The first step is to look at what has stopped working, whether the fault affects one light or several, and whether the problem is constant or intermittent.
That initial check can help narrow the issue before individual lighting or electrical parts are assessed.
Start With the Symptom, Not the Replacement Part
The way the lighting fault behaves can provide useful clues about where to start checking.
A headlight that has stopped working is different from several lights failing at the same time. Flickering also points to a different type of problem than a lamp that remains completely off.
Before removing anything, note:
- Which light is affected
- Whether one side or both sides are involved
- Whether the fault is constant
- Whether the light flickers or cuts in and out
- Whether other lighting functions are working normally
These observations give the workshop a clearer starting point.
One Light Is Out
A single failed light usually calls for a focused check of that individual lighting position.
Depending on the Scania truck and the affected light, the issue may involve the bulb, lamp unit, connector or nearby wiring. Headlights, tail lights, indicators, and marker lights should be assessed based on the specific position that is not working.
There is little value in assuming the entire Scania lighting system has a problem when the fault is limited to one location.
Flickering Points to an Intermittent Fault
A light that flickers or works only occasionally should be checked for an inconsistent electrical connection.
Loose connections, damaged wiring or another problem in the electrical path can cause lighting to operate unpredictably. The affected connector and visible wiring can be checked for obvious damage or movement.
Intermittent problems can be harder to identify than a light that has failed completely, so noting when the fault occurs can also help during inspection.
Several Lights Failing Together Change the Search
Multiple lighting failures may indicate that the problem is shared rather than isolated to individual lamps.
If several lights stop working at once, the issue may extend beyond the bulbs or lamp assemblies. Fuses, switches, wiring harnesses and the electrical supply are among the areas that may need attention.
Scania trucks use several electrical components alongside their lighting equipment, so the pattern of the failure matters when narrowing down the cause.
Dim Lighting Deserves a Closer Look
Lighting that still works but appears unusually dim should not automatically be treated as a failed lamp.
The condition of the light itself matters, but connections and the electrical supply may also need to be considered. Comparing the affected light with the corresponding unit on the other side can make an obvious difference easier to spot.
A workshop can then determine whether the issue lies with the light or elsewhere in the circuit.
Indicator Problems Should Be Checked as a Separate Function
An indicator fault should be assessed as part of the turn signal system rather than grouped with every other exterior light.
Start by identifying which indicator is affected and whether the problem appears at the front, rear or elsewhere on the truck. Check whether the remaining indicators operate normally.
This helps narrow the inspection to the relevant indicator, wiring and associated electrical components instead of checking unrelated lights.
Marker and Clearance Lights Can Reveal Localised Problems
A failed marker or clearance light may be limited to a particular position on the truck.
Because several of these lights can be fitted around a commercial vehicle, it helps to identify the exact location of the fault before parts are checked. Comparing nearby lights can also indicate whether the issue affects a single unit or a broader area.
Replacement Scania lighting includes marker lights, indicators, headlights, tail lights and other lighting and electrical components, so identifying the affected function first can make the parts search more focused.
Visible Damage Changes What Needs to Be Checked
A cracked or physically damaged light should be inspected as a component, not only as an electrical fault.
Impact damage can affect the housing or other visible parts of the lamp. Moisture, damaged connections or surrounding wiring may also need to be checked if the area has been exposed.
The condition of the complete unit gives useful context before a replacement Scania truck light is sourced.
Check the Fault Before Ordering Parts
A clear diagnosis helps avoid replacing a lighting component that was not causing the problem.
Bulbs, fuses, switches, wiring harnesses and complete lamp units all perform different roles within a truck’s lighting and electrical system. Identifying which part of the system is affected gives the workshop a better basis for deciding what actually needs attention.
For fleet operators, this can also make parts enquiries clearer because the affected light and observed fault can be described accurately.
Keep Scania Lighting Problems Specific
The most useful first check is to identify exactly what the lighting system is doing wrong.
A single failed lamp, intermittent flickering, several lights going out together and visible physical damage are different problems. Treating them separately makes troubleshooting more focused and helps narrow down the relevant lighting or electrical component.
Euro Truck Spares supplies Scania truck lighting and electrical parts, including headlights, tail lights, indicators, marker lights, wiring components and related replacement parts from Melbourne and Sydney.
